We earn commissions from qualifying purchases at no extra cost to you. This helps us keep Best Cosplay Sewing Machines running. Full disclosure
12 Cosplay Sewing Mistakes That Ruin Costumes (And How to Fix Them)
Every cosplayer makes these mistakes early on. Some waste fabric, some waste time, and some ruin entire builds. Here is how to skip the learning-the-hard-way phase and go straight to better costumes.
Quick Look: Our Top Picks
Sewing Machine Comparison
| Machine | Type | Best For | Stitches | Speed | Rating | |
|---|---|---|---|---|---|---|
| Brother CS7000XTOP PICK | computerized | beginners, overall | 70 | 750 SPM | 4.6 | View Deal |
| Singer Heavy Duty 4452 | mechanical | heavy-fabrics, leather | 32 | 1100 SPM | 4.6 | View Deal |
| Brother SE600 | embroidery | embroidery, detail-work | 103 | 710 SPM | 4.5 | View Deal |
Mistake #1: Using the Wrong Needle for Your Fabric
This single mistake causes more frustration than everything else on this list combined. Every fabric type has a matching needle type, and using the wrong one causes skipped stitches, broken thread, puckered seams, and fabric damage.
**The fix**: Match your needle to your fabric every single time. - Spandex/knits --> ballpoint needle (size 11-12) - Faux leather/vinyl --> leather needle (size 14-16) - Cotton/polyester/broadcloth --> universal needle (size 11-14) - Chiffon/organza/silk --> microtex needle (size 8-11) - Denim/canvas/heavy fabrics --> denim needle (size 14-16)
Change needles every 8-10 hours of sewing, and always when switching fabric types. A $0.50 needle swap fixes problems that look like they need a new machine.
Mistake #2: Skipping the Muslin Test
Cutting into expensive cosplay fabric without making a test version first is the most expensive mistake on this list. A muslin (test garment made from cheap fabric) takes an extra hour and saves you from wasting $30-80 in fabric when the fit is wrong.
**The fix**: Buy cheap muslin fabric ($3/yard) and make a rough version of every fitted garment before cutting your real fabric. It does not need to be pretty — just check the fit, proportions, and construction order. Pin adjustments directly on the muslin, transfer them to your pattern, then cut the real fabric with confidence.
Mistake #3: Using the Wrong Machine for the Job
Trying to sew thick faux leather on a lightweight computerized machine, or attempting delicate chiffon work on a heavy-duty industrial, both produce bad results.
**The fix**: Match your machine to your primary fabric. The Brother CS7000X handles light to medium fabrics (cotton, polyester, spandex, satin, thin faux leather). The Singer Heavy Duty 4452 handles heavy fabrics (thick faux leather, canvas, layered denim, upholstery). If you sew both types regularly, owning two machines at $200 each is a better investment than one $400 machine that compromises on everything.
Mistake #4: Not Pressing Seams
Pressing (ironing) seams flat after sewing is the number one difference between costumes that look homemade and costumes that look professional. Unpressed seams are bulky, uneven, and catch light differently than the surrounding fabric.
**The fix**: Press every seam after you sew it, before crossing it with another seam. Open the seam allowance and press it flat from the wrong side. Use a pressing ham for curved seams. For faux leather, finger-press or use a very low heat iron with a pressing cloth. Yes, pressing doubles your construction time. Yes, the results are worth it.
Mistake #5: Using the Default Stitch Length for Everything
The default stitch length (2.0-2.5mm) works for medium-weight woven fabrics. It is wrong for almost everything else in cosplay.
**The fix**: Adjust stitch length by fabric type. - Lightweight fabrics (chiffon, organza): 1.5-2.0mm - Medium fabrics (cotton, broadcloth): 2.5mm (default) - Heavy fabrics (denim, canvas): 3.0-3.5mm - Faux leather: 3.0-4.0mm (fewer holes = stronger seams) - Basting/temporary: 4.0-5.0mm - Gathering: 4.0-5.0mm on loosest tension
Mistake #6: Using Cheap Thread
Bargain bin thread from the dollar store sheds lint into your machine, breaks under tension, and produces weak seams. It is the worst place to save money.
**The fix**: Use Gutermann or Coats & Clark polyester thread. It costs $3-4 per spool versus $1 for cheap thread, and the difference in sewing experience is dramatic — fewer thread breaks, less lint buildup, stronger seams, and smoother sewing. A single spool lasts through multiple projects, so the per-costume cost difference is pennies.
Mistake #7: Ignoring Fabric Grain
Fabric has a grain (the direction of the threads in woven fabric, or the direction of greatest stretch in knits). Cutting against the grain produces garments that twist, hang crookedly, and do not drape the way the pattern intended.
**The fix**: Always identify the grain before cutting. On woven fabrics, the selvage edge runs parallel to the grain. On knits, the greater stretch runs perpendicular to the grain. Lay your pattern pieces along the grain line printed on the pattern. If your pattern does not have grain lines, add them — a straight line parallel to the center front/back of each piece.
Mistake #8: Pinning Perpendicular to the Seam Line
Pins placed parallel to the seam line can shift during sewing, causing uneven seam allowances. Pins placed perpendicular to the seam line stay put and can be removed one at a time as the presser foot approaches each one.
**The fix**: Place pins perpendicular to (crossing) the seam line, with the pin heads facing toward you so they are easy to pull out as you sew. For faux leather and vinyl, use wonder clips instead of pins — pin holes are permanent in these materials.
Mistake #9: Leaving Raw Edges Unfinished
Raw edges on woven fabrics fray over time. After a few wears and washes, unfinished seams start unraveling from the edges inward, weakening the garment.
**The fix**: Finish raw edges with a zigzag stitch along the edge, pinking shears (fast but less durable), or a serger if you have one. For cosplay costumes that only get worn a few times, a quick zigzag is sufficient. For competition or high-wear pieces, a serged or bound edge is worth the extra time.
Mistake #10: Sewing Too Fast
Most sewing machine foot pedals are all-or-nothing — a light press sends the machine to full speed. Full speed on a straight highway is fine. Full speed on curves, corners, and detail work is a crash waiting to happen.
**The fix**: Practice speed control. Start slow, increase to moderate speed on straight sections, and slow down before corners and curves. Machines like the Brother CS7000X have a speed limiter that caps the maximum speed — use it while learning. Better to finish a project slowly and correctly than quickly and crooked.
Mistake #11: Forgetting to Backstitch (Except on Faux Leather)
Starting and ending a seam without backstitching leaves thread ends that pull out with wear. Your seams literally unravel from the ends.
**The fix**: Backstitch 3-4 stitches at the beginning and end of every seam on woven and knit fabrics. The one exception is faux leather — backstitching puts multiple needle holes in the same spot, which weakens the material. On faux leather, use a very short stitch length (1.0mm) for the first and last few stitches instead, or tie off thread ends by hand.
Mistake #12: Buying a $50 Sewing Machine
A $50 mini sewing machine from a discount store cannot handle cosplay fabrics. Weak motors stall on anything heavier than cotton, plastic gears strip within months, and limited stitch options leave you without the stitches you need for stretch fabrics, hems, and closures.
**The fix**: Budget $200 minimum for a cosplay-capable machine. The Brother CS7000X (~$250) and Singer Heavy Duty 4452 (~$200) are the two best entry points. Both machines handle real cosplay projects, come from reputable brands with available parts and support, and will last years with basic maintenance. The $50 you think you are saving by buying cheap is actually money you spend twice — once on the cheap machine, and again on the machine you replace it with.
Recommended Machines
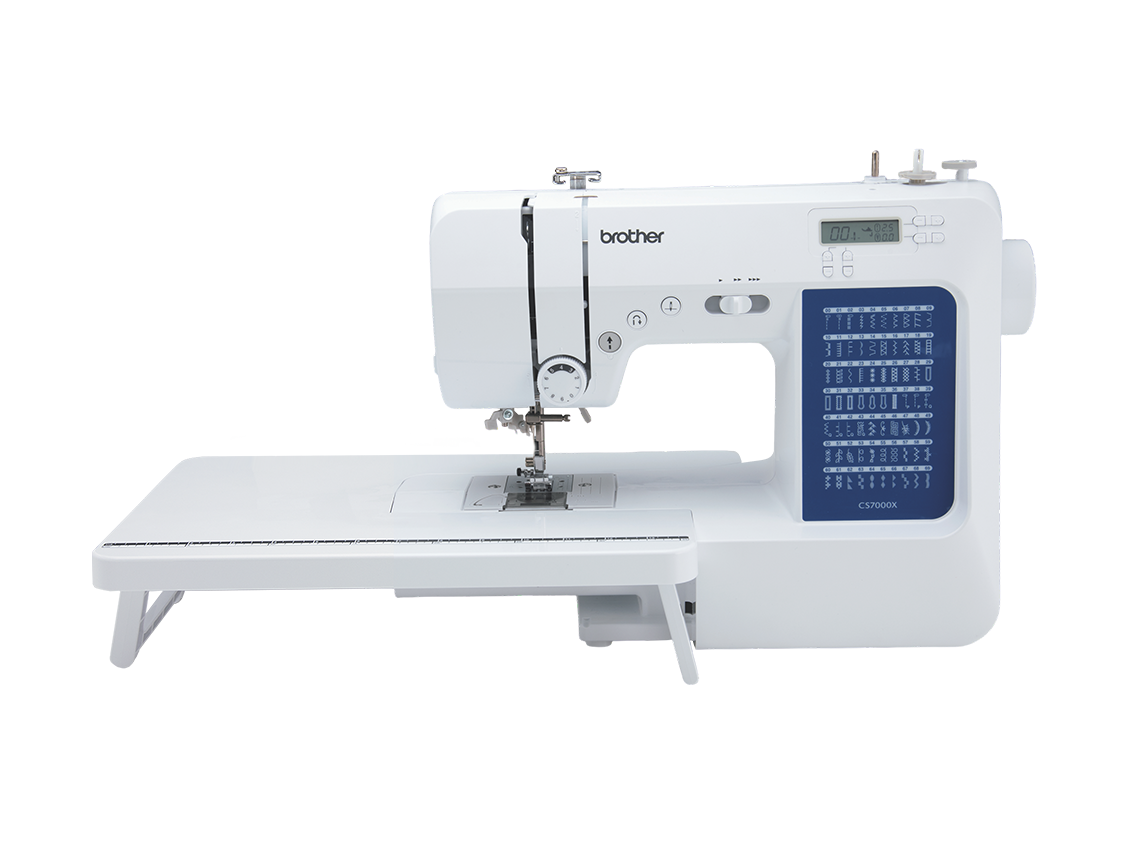
Brother CS7000X
The Brother CS7000X is our top pick for cosplayers who want a reliable, feature-packed machine without the steep learning curve. It handles everything from spandex bodysuits to cotton capes with ease.
Read Full Review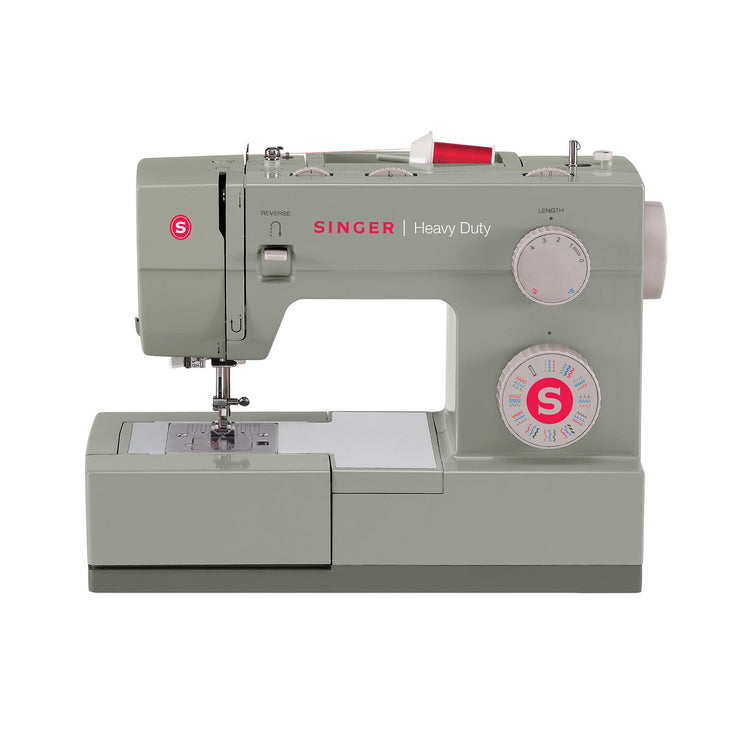
Singer Heavy Duty 4452
If your cosplay involves armor, leather, or layered fabrics, the Singer 4452 is the workhorse you need. It trades fancy features for raw sewing power.
Read Full Review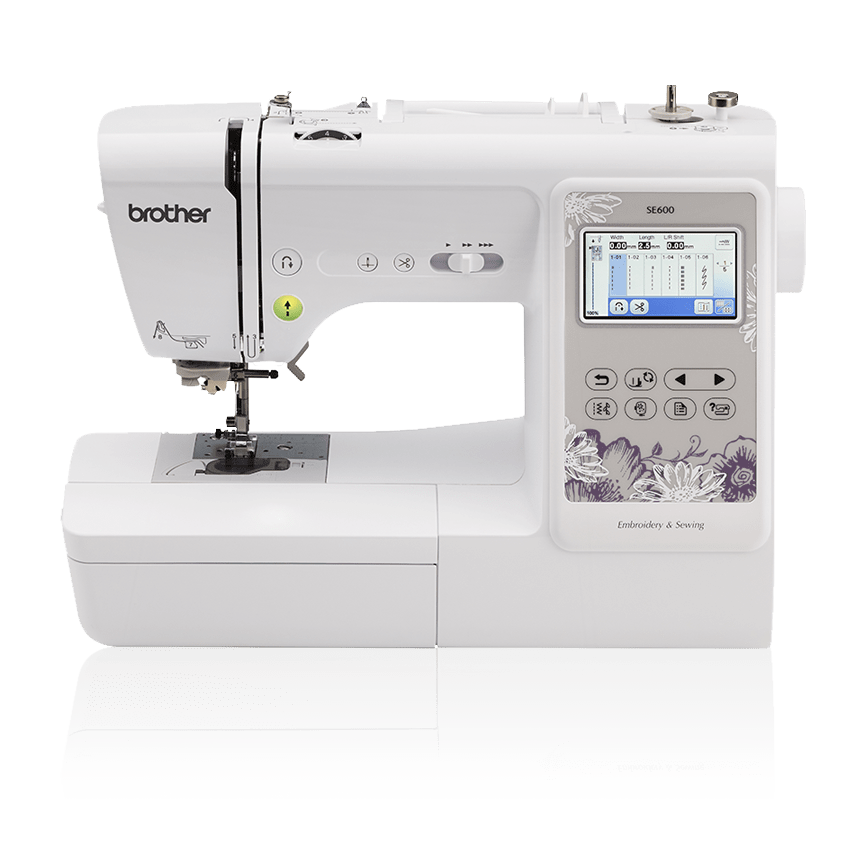
Brother SE600
The Brother SE600 is the cosplayer's secret weapon for adding professional embroidered details, custom patches, and logos to costumes. If detail work matters to you, this 2-in-1 machine is worth every penny.
Read Full ReviewFrequently Asked Questions
Using the wrong needle for your fabric. It causes skipped stitches, broken thread, and fabric damage. Switching to the correct needle type (ballpoint for stretch, leather for faux leather, universal for wovens) fixes most sewing problems instantly.
Related Guides
Level Up Your Cosplay Sewing
Get weekly tips, deal alerts, and tutorials straight to your inbox. Join 2,000+ cosplayers who sew smarter.
No spam, unsubscribe anytime. We respect your inbox.